

Update: Meta regularly changes the Facebook business interface, so some screen labels may differ while the overall setup process remains similar.
To create a Facebook Business Page, here’s a detailed step-by-step guide:
A Facebook Business Page is essential for establishing your business’s online presence, reaching new customers, and engaging with your existing audience. It allows you to showcase your brand, share updates, promote products or services, and interact directly with customers through messages and comments. With over 2 billion active users, Facebook offers powerful tools for targeted advertising, helping you grow your customer base and drive sales. Additionally, having a Facebook Business Page improves your business’s credibility and makes it easier for people to find you online.
Here’s a Step-by-Step Guide to Set Up a Facebook Business Page:
Step 1: Log in to Your Facebook Account
Go to Facebook.com and log in using your personal account credentials.
If you don’t have a Facebook account, you’ll need to create one first.

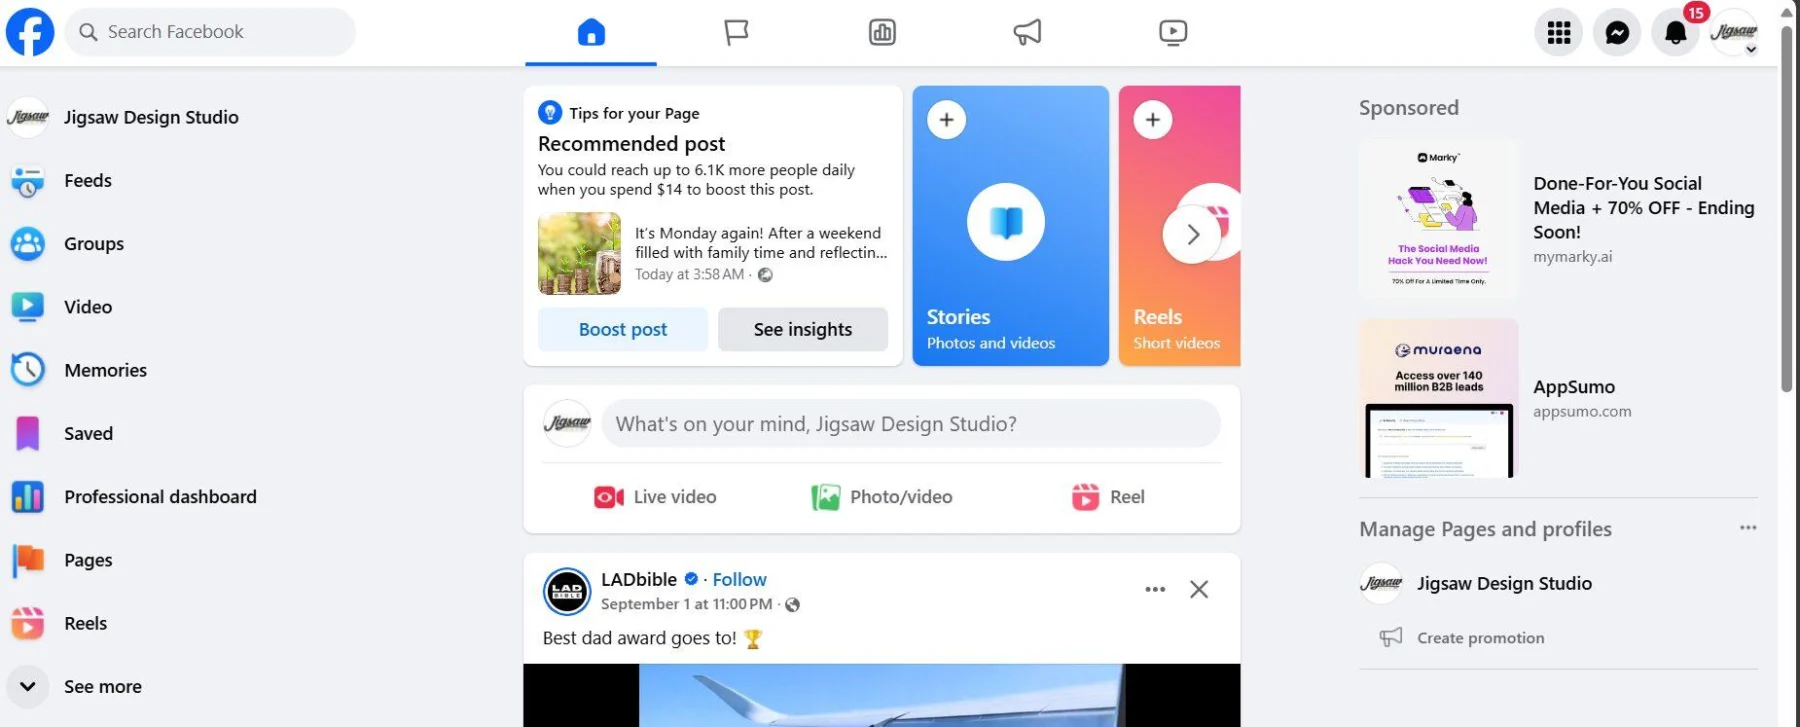
Step 2: Navigate to ‘Create Page’
Once logged in, click on the “Menu” icon (three horizontal lines) in the top-right corner.
From the dropdown, select “Create Page” under the “Pages” section.
Step 3: Enter Your Page Name and Category
You’ll be prompted to enter your Page name. This should be your business name.
Choose the appropriate category that best fits your business (e.g., restaurant, retail, service, etc.).

Step 4: Add Your Business Information
Enter additional details, such as your business address and phone number.
This information will appear on your Page, making it easier for customers to find and contact you.

Step 5: Upload Your Profile Picture and Cover Photo
Upload a profile picture that represents your business, typically your logo.
Add a cover photo to visually showcase your brand, products, or services.
Step 6: Connect Whatsapp to your page
You can connect your business whatsapp line to facebook, this enables your audience message you directly on whatsapp.

Step 7: Create a Username for Your Page
You can create a unique username for your Page (e.g., @yourbusiness). This makes it easier for people to find your Page.
Step 8: Complete the About Section
Fill out the “About” section with a brief description of your business, including key details like your mission, services, and unique selling points.

Step 9: Add Call-to-Action (CTA) Buttons
Facebook allows you to add call-to-action buttons to your Page, such as “Call Now,” “Shop Now,” or “Contact Us.”
Select the button that best suits your business goals and set it up.
Step 10: Set Up Business Hours
If applicable, set your business hours so customers know when you are available. This information will be visible on your Page.
Step 11: Publish Your Page
Once you’ve completed all the steps, click the “Publish” button to make your Page live.
Your Page is now public, and customers can start engaging with it.
Step 12: Start Posting and Inviting People to Like Your Page
Begin by posting content that reflects your business, such as promotions, updates, or new products.
Invite friends, customers, and potential clients to like your Page to build your audience.
Ready to turn useful ideas into practical growth?
Tell us what you want to improve. We can bring your website, brand, marketing and automation together into a clearer plan.




